A Quick Guide to Propagation from Cuttings
04 Apr, 2022
Getting started
If you’re keen to get into cuttings, there are a few basics you will need to start you off.
- A mix for your cuttings, which you will need to research before making (see our introductory guide below).
- A variety of tools and equipment (these are noted below).
It’s also important to remember that moisture retention is key to success, as well as good light and a warm temperature – so be careful to pick the right spot for your propagated plants.
Choosing your mix
To avoid the spread of disease, always use high-quality, sterilised mix for your cuttings and make sure you handle mixes with clean gloves.
A mixture that is soilless is the best starting mix for propagating your cuttings. The mixture should be loose, well-draining and have plenty of oxygen movement for newly forming roots. You can start cuttings in perlite, vermiculite, sand, or a combination of peat moss.
The right tools for the job
Pots and trays
To minimise the spread of spores and disease, always use sterile and clean pots or trays for your cuttings. Before re-using pots, wash them thoroughly in hot water, with dishwash liquid.
You should also ensure pots have a drainage hole as wet soil will result in rot. (Note - using stones in the bottom only, will not provide enough drainage).
Gloves and masks
Wear fresh, sterile gloves (or thoroughly clean gloves if you are reusing them) and always use a mask if you are mixing or disturbing soil mixes and growing materials.
Garden/cuttings knife
Keep a sharp knife (like a pocket knife) specifically for taking cuttings. Always disinfect the knife after use – with hot water and diluted bleach. Dry thorouughly and oil after each use.
Rooting hormone
Rooting hormone is a propagator’s best friend. It usually contains synthetic hormones that are similar to those that occur naturally in plants.
Rooting hormone comes in liquid, gel and power forms. Different products are suited to different kinds of cuttings, so check the back labels to see which is best for your cutting.
Note: Rooting hormone products should be well-labeled and kept in a refrigerator.
Other tools
There are many other tools you may find useful. Here is a quick list of other tools to check out:
- Heat pads – perfect for encouraging new root growth in cool weather, seasons or climates.
- Growing lights – Perfect for darker houses that don’t get enough natural light, or during winter when daylight hours are shorter.
- Portable propagation stations – like mini green houses, with vents in the top to regulate humidity levels.
- Green houses – for larger scale cuttings, with many types and sizes to choose from.
- Shade cloth – for shade-loving plant cuttings.
- Watering systems – using timers with different irrigation systems (usually for outdoor cuttings).
Different types of cuttings
Below are the most common ways to propagate various kinds of plants.
Wood cuttings
There are four types of ‘wood’ or branch cuttings you can take.
Softwood cuttings
Ideal for Hebe, Fuchsia (anytime), Boston Ivy, Rhododendron.
Softwood cuttings are usually taken in spring from new, green growth. These have the highest rooting potential of any stem cutting, but also have the lowest rate of survival. This is because they are grown from new growth that wilts rapidly and loses water quickly, which can expose the cutting to being attacked by rot.
Softwood cuttings should be around 5-10cm long. To give the cutting its best chance, remove all flowers and only leave a small amount of foliage at the top. Then, create a clean cut at the bottom and dip this into rooting hormone compound. Ibadex Powdered Rooting Hormone is recommended for these cuttings.
Greenwood cutting
Ideal for Buxus, Daphne, Pieris, Magnolia.
Greenwood cuttings are taken when stems are still young, but are starting to firm. They are easier to handle than softwood cuttings, and are not as prone to wilting.
Usually taken in spring or summer, greenwood cuttings can be sourced from shoots that have been left to grow a little before cutting (like cutting back a sucker).
Soft or semi-hardwood cuttings.
Ideal for Daphne, Hibiscus, Fuchsia, Rose.
Semi- hardwood cuttings are those taken when stems are firmer than greenwood cuttings. Generally taken in summer or early autumn, semi-ripe cuttings usually include several nodes.
Yates Clonex Purple Rooting Hormone Gel is recommended for these types of cuttings.
Hardwood cuttings
Ideal for Bougainvillea, Camellia, Hydrangea, Jasmine.
These cuttings are taken from more mature, dormant wood. They are usually slower to root but are not as prone to failure as softwood or greenwood cuttings.
Known as one of the easiest cuttings to strike from, hardwood cuttings are usually taken in autumn and winter, meaning that they often need heat. For the best chance of success, take cuttings of between 5 – 10cm. Yates Clonex Red Root hormone Gel is recommended for hardwood cuttings.
Other cuttings
Indoor cuttings
Ideal for Croton, Monstera, Pothos (Epipremnum), Chain of hearts.
While not technically a ‘type’ of cutting, we know indoor plants are very popular so we thought we would add in a special note about propagating them.
Most indoor plant cuttings will be leaf-bud or stem cuttings. Always make sure there is a node on a cutting, as this is where new leaves will grow from.
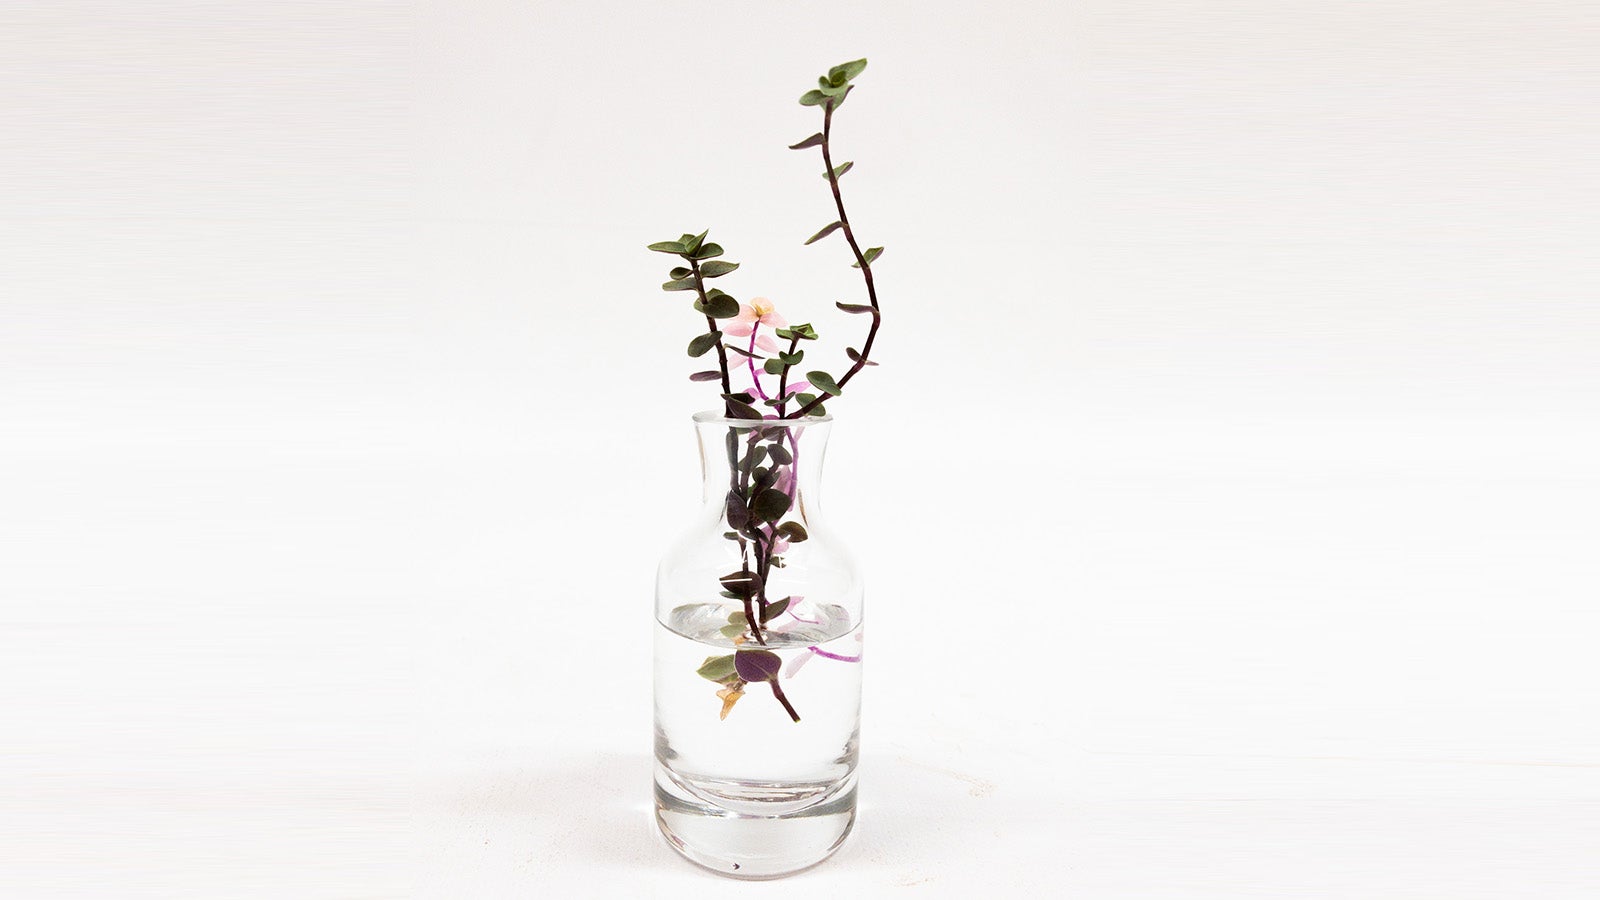
You can usually grow indoor plant cuttings by putting them in clean water, and free-draining mixes. Many indoor plant cuttings will need to be kept warm, with regular misting and high humidity levels. A dab of rooting hormone will also help them along.
Note: Many indoor plants will have different propagation methods, so we highly recommend researching the correct propagation method for your plant before you get started.
Suckers and runners
Ideal for Strawberries, Cane fruit (Raspberries, blackberries, etc), Banana, Figs, Blueberry, Cherry/ Apple/ Pear, Robinia, Elms.
Nicknamed for their potential to suck energy from the main parent plant, and plant material that ‘runs away’, the unique behaviours of suckers and runners are their way of asexually propagating in the wild.
When the plant extends a growth – usually a vine or growth from roots – it is essentially cloning itself. Normally you would take these shoots off to preserve the plant’s energy (and to keep your garden tidy!), but you can also use these cuttings to create new plants.
Leaf propagation
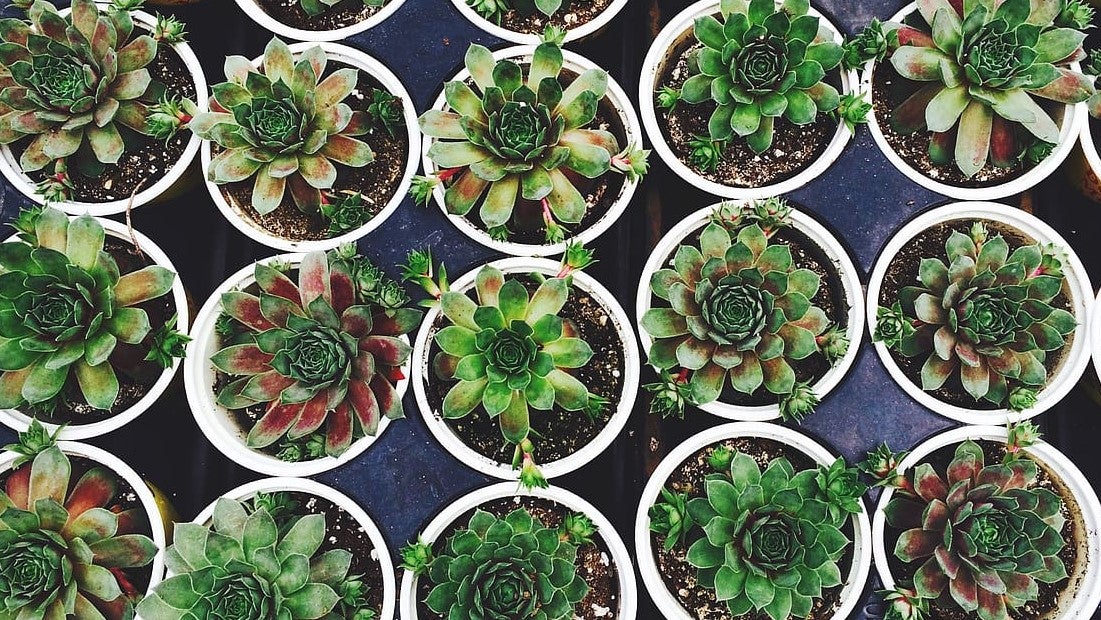
Ideal for Succulents (whole leaf), Peperomia (part leaf), Begonia (part leaf).
There are some plants, like hoyas, that can be encouraged to root from leaves however they will not produce nodes of stalks from a leaf, meaning they won’t grow into a full plant. Others (like the ones listed above) can be propagated from leaves with a whole new plant resulting.
Division
Ideal for Garlic or onion bulbs, Spring and summer bulbs, Peace lilies, Succulents, Hostas.
Dividing sees a plant split up to be grown as two (or more) different plants. This can be done on plants that are grown from bulbs, those with a forming clump or those with close-knit shoots. Depending on the plant, dividing is best carried out either in spring or when growth dies back.
Other types of propagation
There are other types of propagation which require a little more knowledge if you are wanting to take your propagation skills to new heights. They include root cuttings, leaf bud cuttings, micropropagation and propagation from seed.
Taking care of your cuttings
Different cuttings will need different types of care, so make sure you research your desired plant before you start snipping.
Protecting new plants
Don’t be tempted to stick cuttings from sun-loving plants into hot, full sun spots straight away as they may wilt. Use shade cloth to gradually help younger plants become established, while they still get natural filtered sun. You can also use a shading wash on glass houses (best for tropical houses) and sun tunnels to filter sunlight but keep the heat. Make sure to also protect edibles from rabbits if you are in a semi-rural area.
Weaning and hardening off
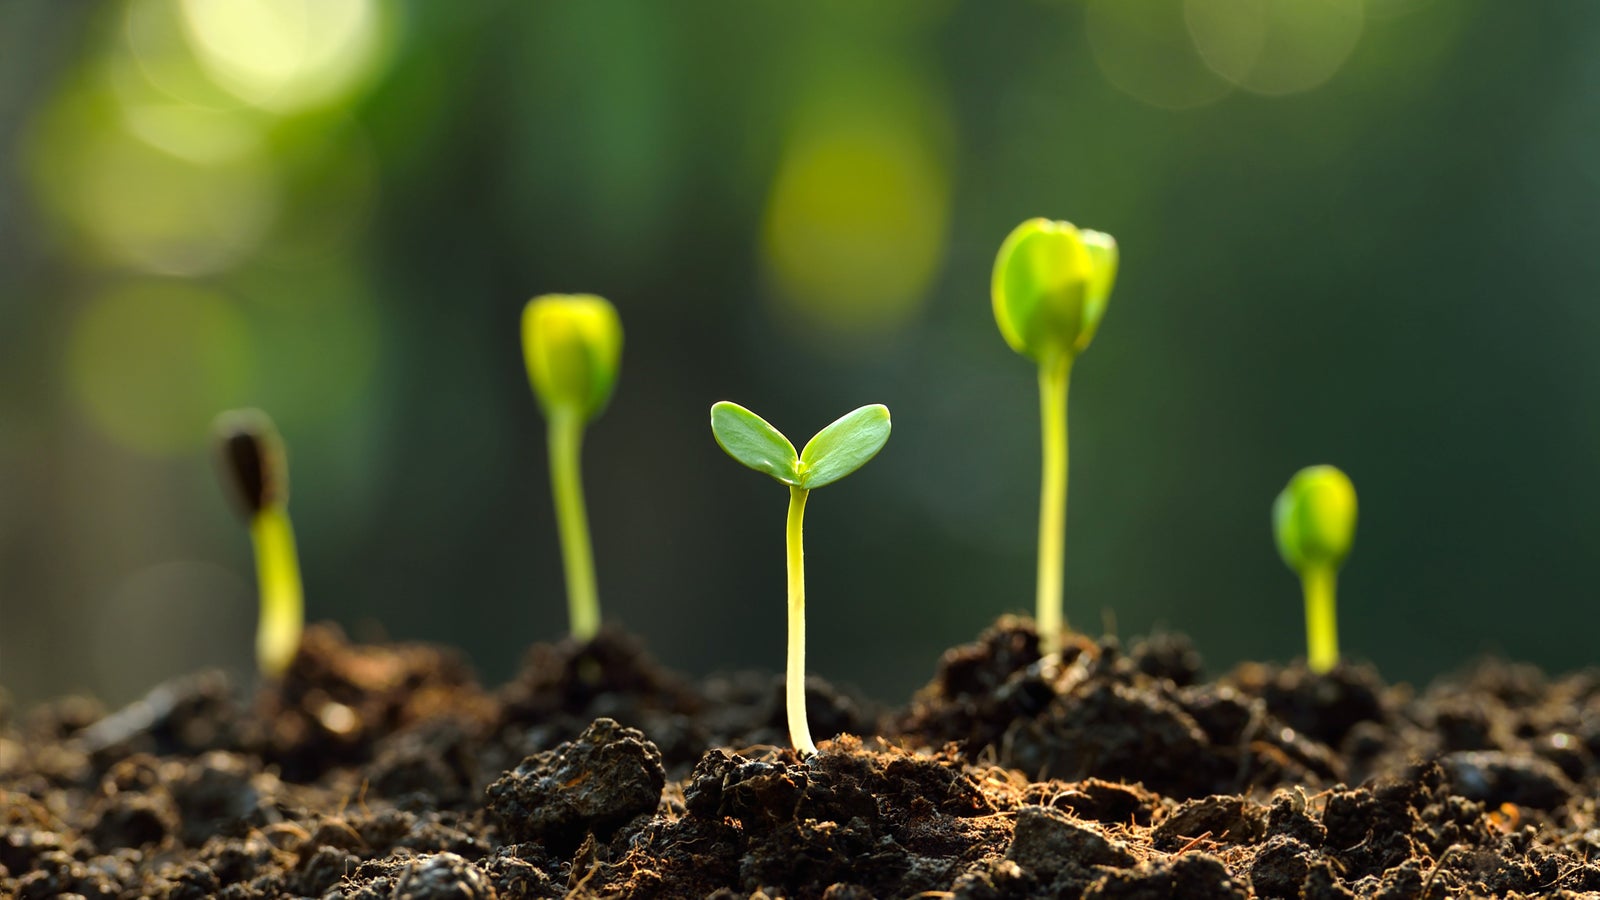
Once rooted cuttings have an established root system, start weaning plants from the propagation environment into a growing environment.
The ideal environment will depend on the type of plant, the temperature and the time of year. Plants are usually most vulnerable at this weaning stage and it takes around three weeks for most cuttings to acclimatise. You can achieve this by gradually turning heat pads off, reducing misting and taking plastic film off for increasing lengths of time. Once weaned, plants can be placed in well ventilated spaces with less management.
Before being planted out, plants will need to come out of the sheltered or protective phase to gradually acclimatize to their new surroundings. Harden off plants that will be going outside. This may take 1-3 weeks, and the plants will need to grow and become accustomed to the change of environment. Introducing your plants to more hours of filtered or direct sunlight, or into a cold frame will help.
Positioning
Take note of what position the final plant will need. Indoor plants will need bright, indirect sunlight, while cacti need bright direct light, and plants like hostas will be happy in the shade.
Watering
Make sure your plant is watered each time it is transplanted. Never transplant when your plant is wilting or drooping as the rate of survival will be much lower. Once transplanted into the ground, make sure the soil is free-draining and has access to water – either via irrigation or by you watering them according to the season.
Fertiliser
It is always a good idea to have a small sprinkling of slow-release fertiliser in your mixes after your plant been planted outside. Note that some slow release fertilisers may not activate until they reach a certain temperature.
Do not give cuttings a heavy fertiliser, as this may damage their new roots. Once established, you can feed with a liquid fertiliser from spring to autumn, but remember to check for the correct dilution levels on the back of the fertiliser bottle.


