Making Your Own Compost
16 Apr, 2021
You can create your own wonderful, nutrient-filled compost using your garden and household leftovers. Composting is a great way of naturally breaking down plant materials, and also keeping useable waste out of landfills. It saves you money and you can brag to your neighbours and friends about being a more sustainable household!
There are a few ways you can make use of food scraps. If you are on a more rural property with chickens, they will eat most leftover food scraps. Another way to used food scraps (and especially handy in urban areas) is by using a bokashi bin. With leaf litter, you can create leaf mould.
Compost uses both food scraps and leaf litter.
When added to the soil, compost replaces lost nutrients that have been used by plants to grow. Compost also helps condition your soil, which can help slowly break down compact, clay soils, as well as introducing oxygen back into the soil for plants, improving moisture retention, and encouraging more worm activity. Best of all, it fertilises plants!
How to Start a Compost Bin
You will first need to decide how you will keep your compost. There are several options, each with pros and cons for different types of garden.
Compost Bins
Bins are extremely handy for small to medium-sized properties, especially if you are living in the city. If using a bin, you will have to make sure that your waste is chopped into small pieces, and layering is extremely important. Keep the bin moist, and close the lid when you are not using it. Your compost will still need to be turned and tossed with a fork once every couple of weeks.
Compost in bins is ready to use from around 8 weeks.
You can find compost bins at most Kings Plant Barn stores and online.
Compost Tumblers
Tumblers are also best for small to medium-sized properties. The more expensive choice, but you get compost with the least amount of effort. All other compost options need to be turned tossed with a fork, but the tumbler only needs to be turned using the handle a couple of times a week. It can take between 8 to 13 weeks for this compost to be ready.
Making your Own Compost Pile
Making your own compost pile is great for medium to large properties. A traditional compost pile (or heap) is outside in full sun and is usually sheltered from the rain. The site should be well drained and partly sheltered — up against a fence or wall is ideal. Some would consider this the best type of compost as it is so natural and easily breaks down, but of course there are both pros and cons to compost piles.
The best thing about them is that they are the cheapest option. You can make your own using stakes and chicken wire or old pallets (which many of our stores give away for free from time to time!). However, you will need to have a fork, as you will need to turn the compost to help the matter break down evenly. It does require more work, but the reward is worth it! Turn once every couple of weeks.
As compost piles are out in the open, the food scraps may attract mice or rats. Make sure you don’t use bread and meat, and set up rodent traps where pets and children can’t get to.
Compost piles take around 10 weeks to mature.
Location
Once you have decided what method you will use, you will need to choose a location. Make sure the site is easily accessible and sheltered. It also needs to be sunny, as the sun will help break down the organic matter.
What to Use
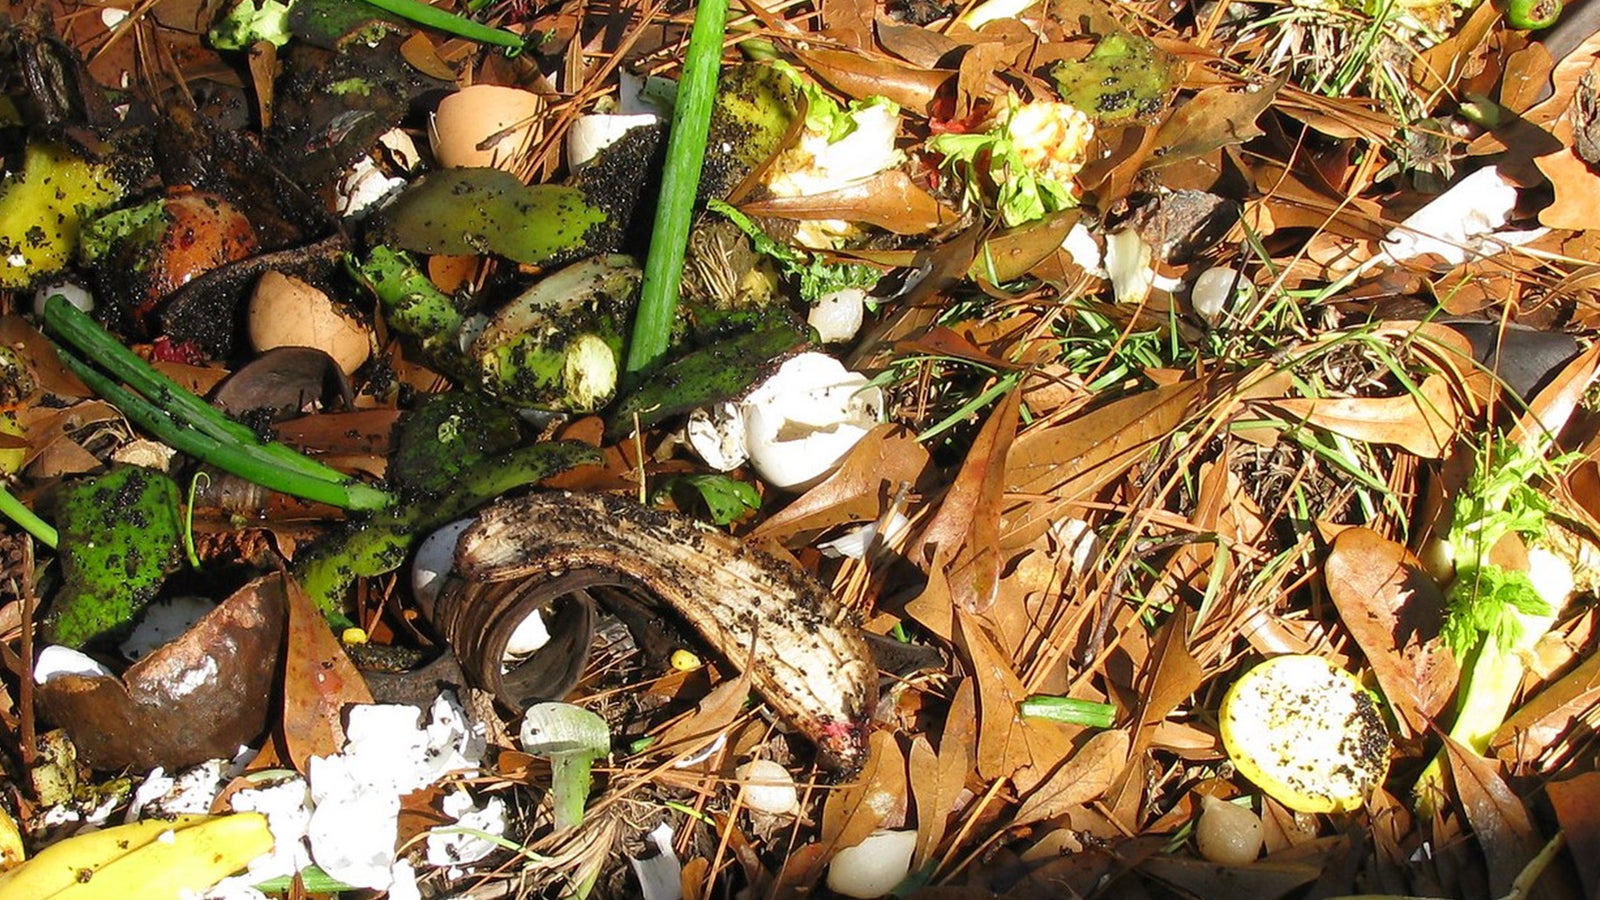
In terms of what goes into your compost, it needs to have layers that are a blend of carbon and nitrogen, mixing organic material from your garden in with food scraps from your kitchen. Layering is extremely important for composting. Make sure you add a layer of your carbon waste (leaves, twigs) to every layer of nitrogen waste (lawn clippings, food scraps). Do not make these layers any larger than 10cm thick.
To help speed up the process, add small layers of finished, new compost to your pile or bin. Spray with water from the hose to keep things slightly damp in the hot summer period.
Add it:
Add leaves, sticks, spent annual plants and newspaper for carbon.
Add kitchen scraps such as fruit and veggies (make sure the little brand stickers are taken off), coffee grinds, egg shells and loose-leaf tea, plus grass clippings for nitrogen.
You can also add in straw, natural sawdust, sheep pellets and even pasta!
Leave it:
Try and avoid adding in dairy products, meat or bread as these will attract unwanted pests.
Avoid putting in diseased plants, plants sprayed with herbicide or infected old fruit, as these will linger in the new soil you are trying to create.
Avoid adding in bones, liquids (other than a little water) and cooking oils.
Avoid putting in anything larger than 10cm, which will slow down the rate at which the compost breaks down. So those sticks will need to be chopped up, as well as those watermelon skins!
How to Know When your Compost is Ready
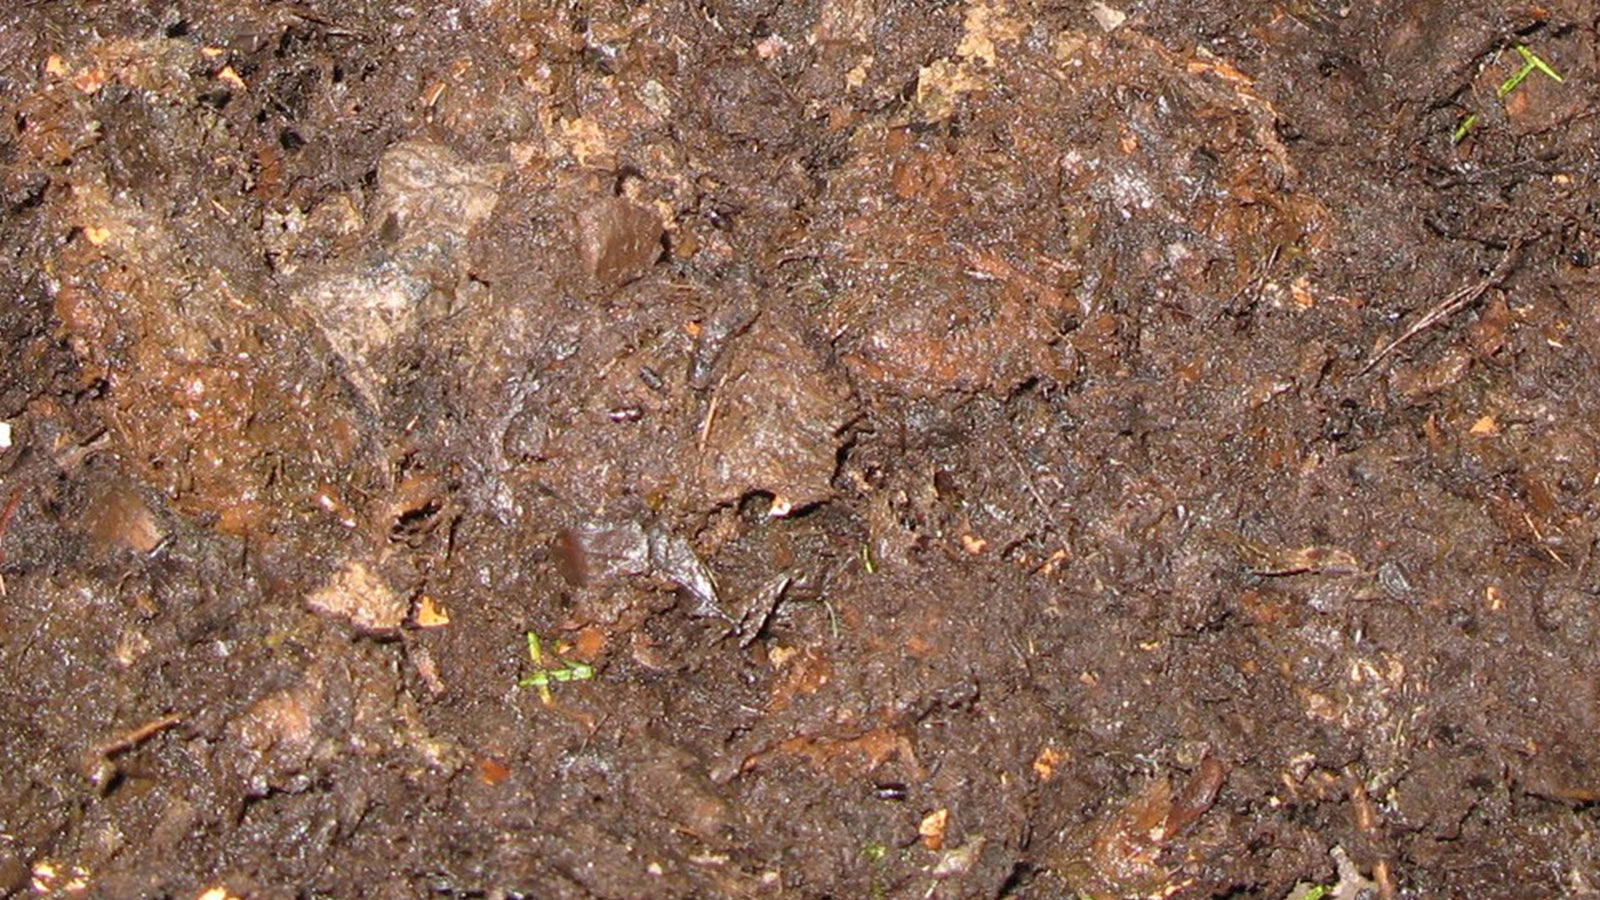
Your compost is ready when it is a dark brown with an earthy smell, and has broken down to the point you can no longer tell what parts of the compost used to be. If your compost is a little too wet, you can always add more old newspaper to your mix to help soak up extra moisture.
How to Use your Compost
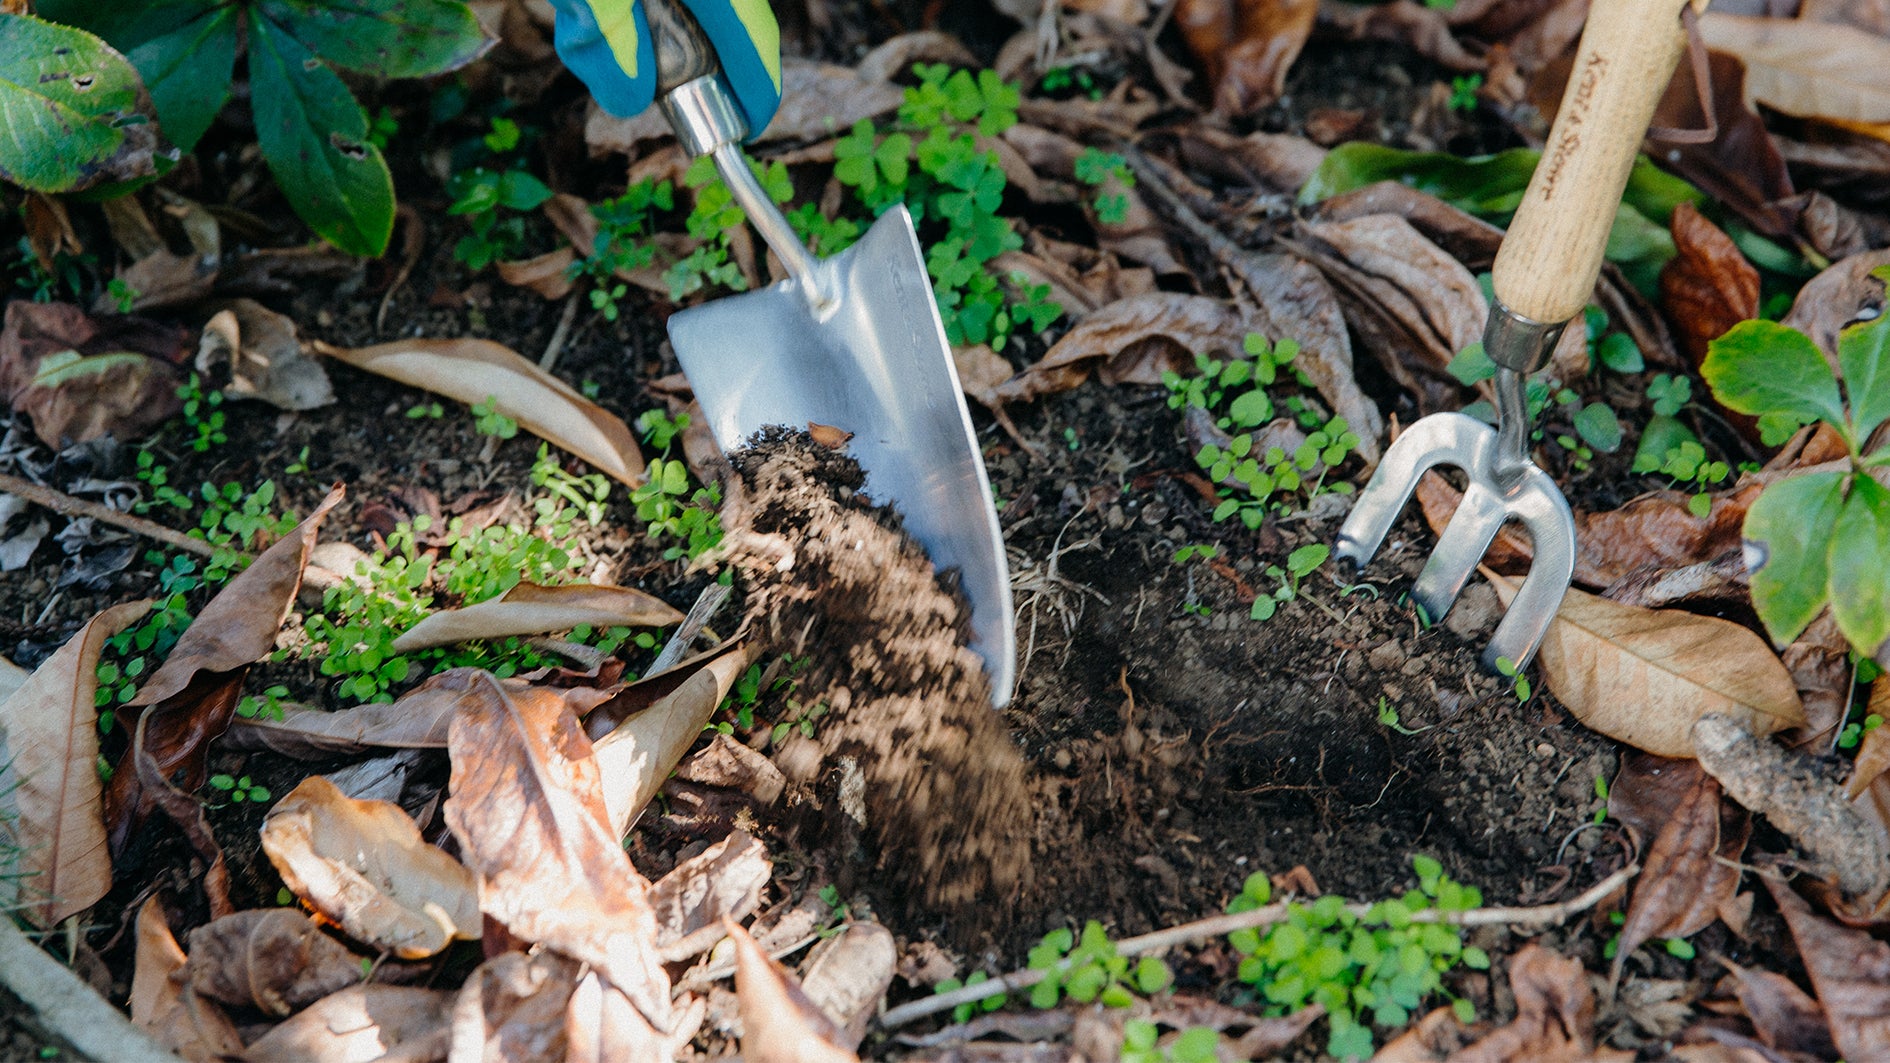
Once your compost is ready to use, put it into a large container or wheelbarrow so you can easily add it to your garden. For best results, add compost to the soil (at least 1:2, compost:soil) in your flower, garden or veggie beds. It will replace any nutrients that have been taken from the soil from plants during the growing season.
This compost will be very high in nutrients, and if it is not mixed well and broken down further, it has the potential to be too strong. Do not put plants straight into compost, as it can burn the roots. Do not put compost into pots, indoors or out, as this could have the same effect.
You can use a thin layer of compost as mulch, but do not let the compost touch the trunk of your trees or shrubs, as again it may damage the tree.
Extra Tip
You can add extra items to your compost depending on the product.
Unfortunately, you cannot add any ‘biodegradable’ products to your compost. Biodegradable simply means they will degrade over time, but this doesn’t mean they are great for the environment, and can take years to break down. We recommend only adding in ‘compostable’ products that will break down quickly, such as brown paper napkins, bamboo paper towels, cardboard and egg cartons.
There are now more products coming out that are ‘compostable’. Many of these are for commercial composting only though, and are best disposed of in ‘compostable’ bins in foodcourts or collection areas. However, if you are set on trying to add them to your compost, make sure the items are cut up into tiny pieces so that they can decompose faster. The compost heap will need to heat up to help break these pieces down, so only try this if you are a seasoned composter.
If you don’t toss the compost, the decomposing process will take longer and could take up to a year! Tossing significantly reduces this down to a couple of months.
Keep a small bucket or bin with a lid inside your house to collect food scraps, and take it outside to empty into the compost when it is full. This will save to time and energy in the long run.
Have any more questions? Give us a call on 0800 PLANTS for general advice.

