Preserving Homegrown Food
16 Feb, 2022
Bottling
What is bottling, and what does it include?
Bottling edibles is where you combine liquid and your veggies/fruit/herbs into a bottle to help them last for a long time. This includes using oils, water, vinegar, brine or juice.
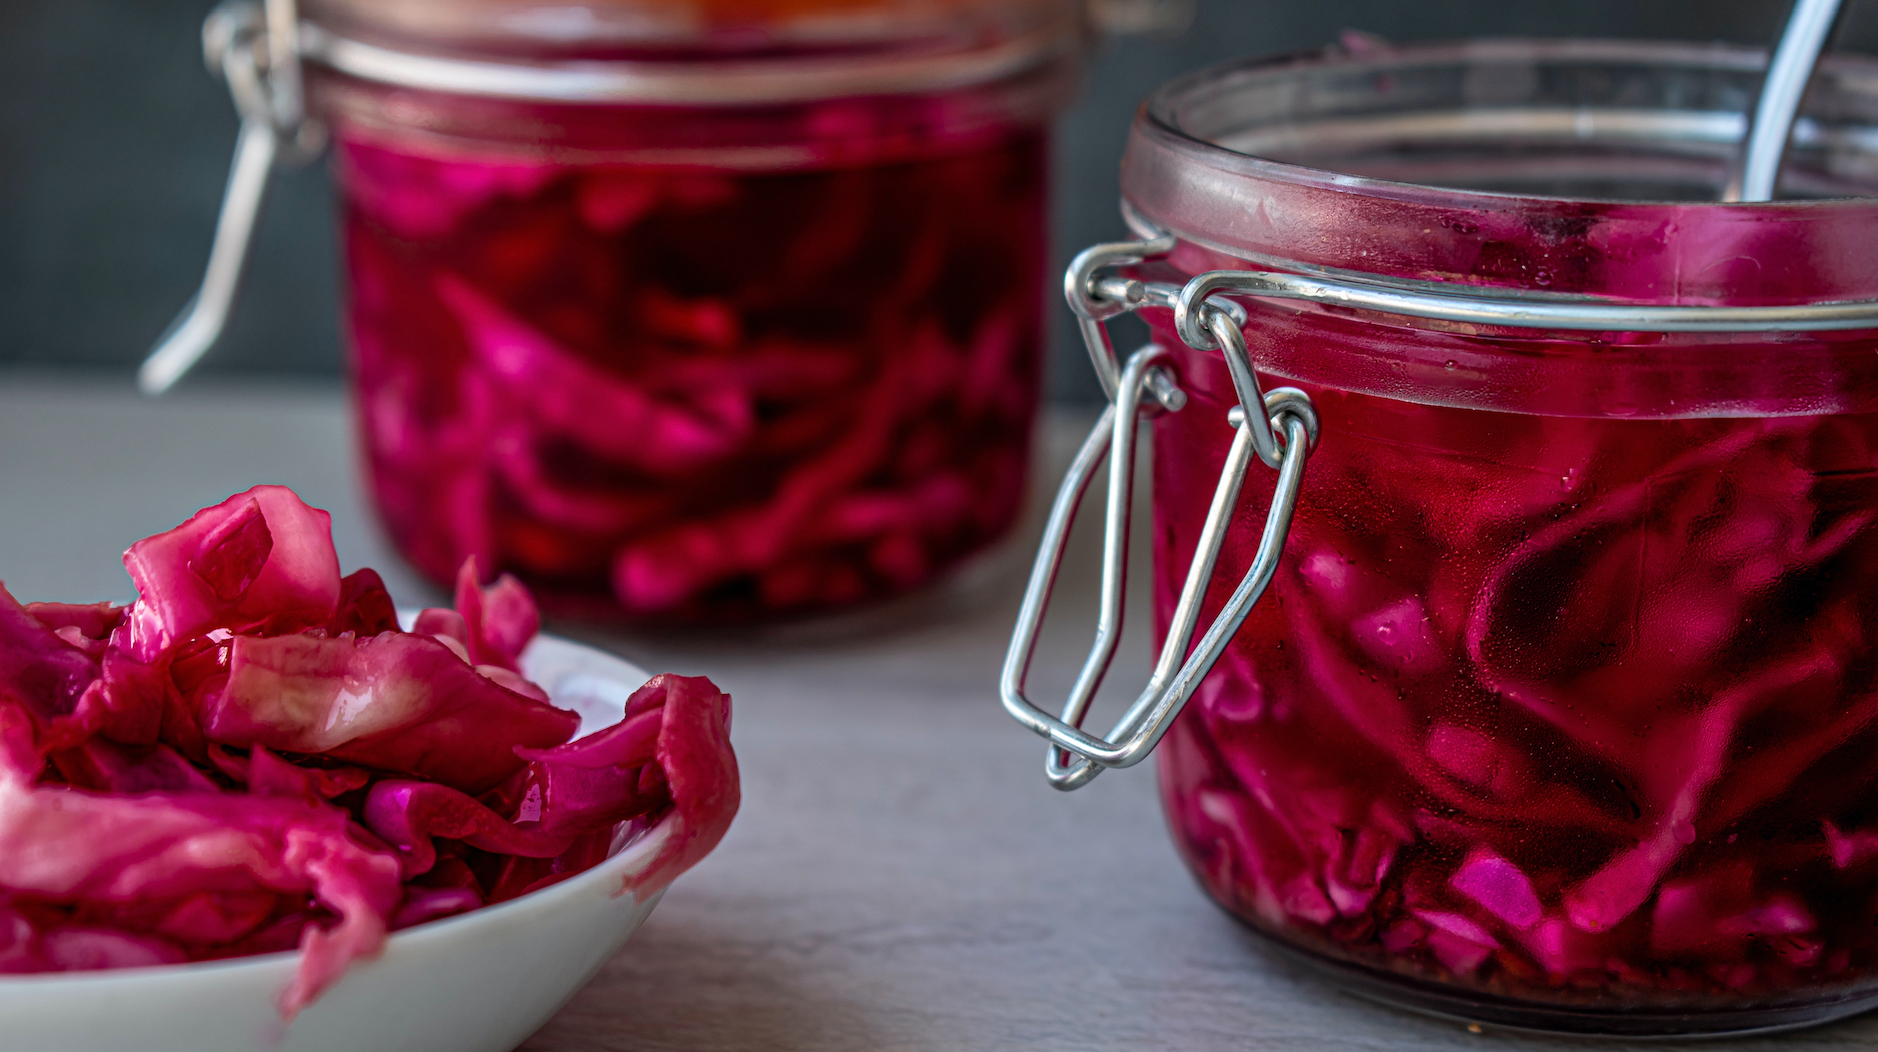
Pickling and traditional bottling
Fruit bottling is where the fruit is stoned/pitted, sometimes skinned and then cooked and stored in a glass jar to extend its storage life (read our tip section below for more).
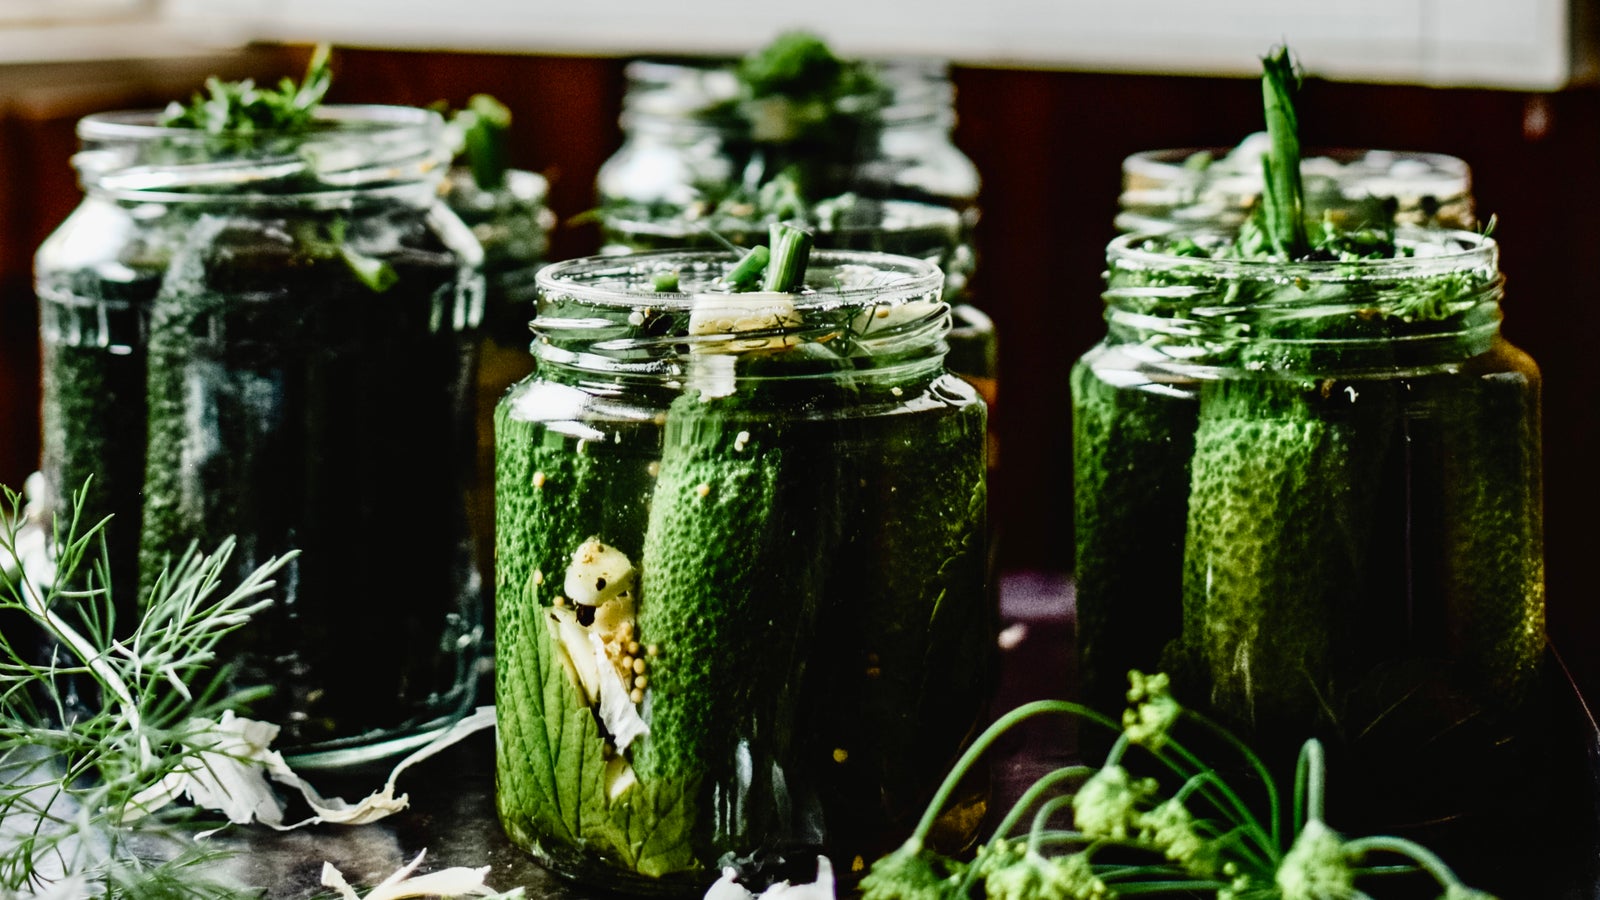
Pickling is where edible items are preserved in a jar with brine or vinegar to extend their storage life. This includes onions, olives and gherkins.
Preserves in jars can be jams, chutneys or other spreads at a later date.
Tips:
1. Look into what kind of bottling best suits your tastes. Are you a sandwich lover? Try making chutneys. Enjoy cheeseboards? Pickling would be your go-to. Do you bake a lot or enjoy cereal for breakfast? Bottled fruit is delicious and sweet. More of a toast kind of person? Make a tasty jam everyone can enjoy.
2. Keep hold of glass bottles instead of putting them into the recycling – or buying new ones.
3. Trouble with your jars sealing? Make sure your jars are already heated up before adding hot boiled water from the stove or jug, then tip it out, wipe the inside dry and quickly pour your preserves in before screwing the metal lid on tightly. They will seal with a ‘popping’ sound over the next few hours.
Freezing
What are the basics of freezing edibles?
Some edibles are very easy to freeze on their own. Foods that have skin (like bananas) are best peeled before frozen; others can be just chopped up, put into a container and kept for later (spring onions, capsicums, capsicums). Make sure that your freezer items aren’t left too long, as they will get freezer burn and will lose their flavour and texture. Try not to freeze anything that has just been washed, as this means they can stick together and make it harder to separate later.
What can you freeze?
Technically you can freeze anything, though some are easier than others.
Berries, such as raspberries, gooseberries, blueberries and strawberries (halved), can just be frozen straight after being picked – stored in a snaplock bag. Fruit, including peaches, pears, apples, and plums, are better cut up into quarters or small chunks, discarding the seeds and stones, so it’s easier to use them in baking later. Nuts are also good frozen, such as almonds, walnuts and sunflowers – and take them out as you need them.
Tips:
1. Before you start, double-check that your edibles can handle a freeze or need preparation. Some plants such as potatoes and zucchinis are so watery and spoil soon after defrosting – instead, create prepared food before freeing them, i.e. mashed potatoes, chips, zucchini bread and muffins.
2. Some plants can lose their taste and colour when freezing, such as broccoli, peas and beans. It is best to blanch these before putting them into the freezer.
3. If you are an avid freezer, make sure you write the contents and date on the snaplock bag or container before freezing, so it is easy to discern this years produce from last year.
Drying
How to dry edibles?
There are many different ways that you can dry edibles. Sun drying is a traditional form; however, in Auckland’s highly humid summers, it doesn’t work well, as it needs to be under 60%. Here are some other ideas of how to dry your food.
Dehydrator
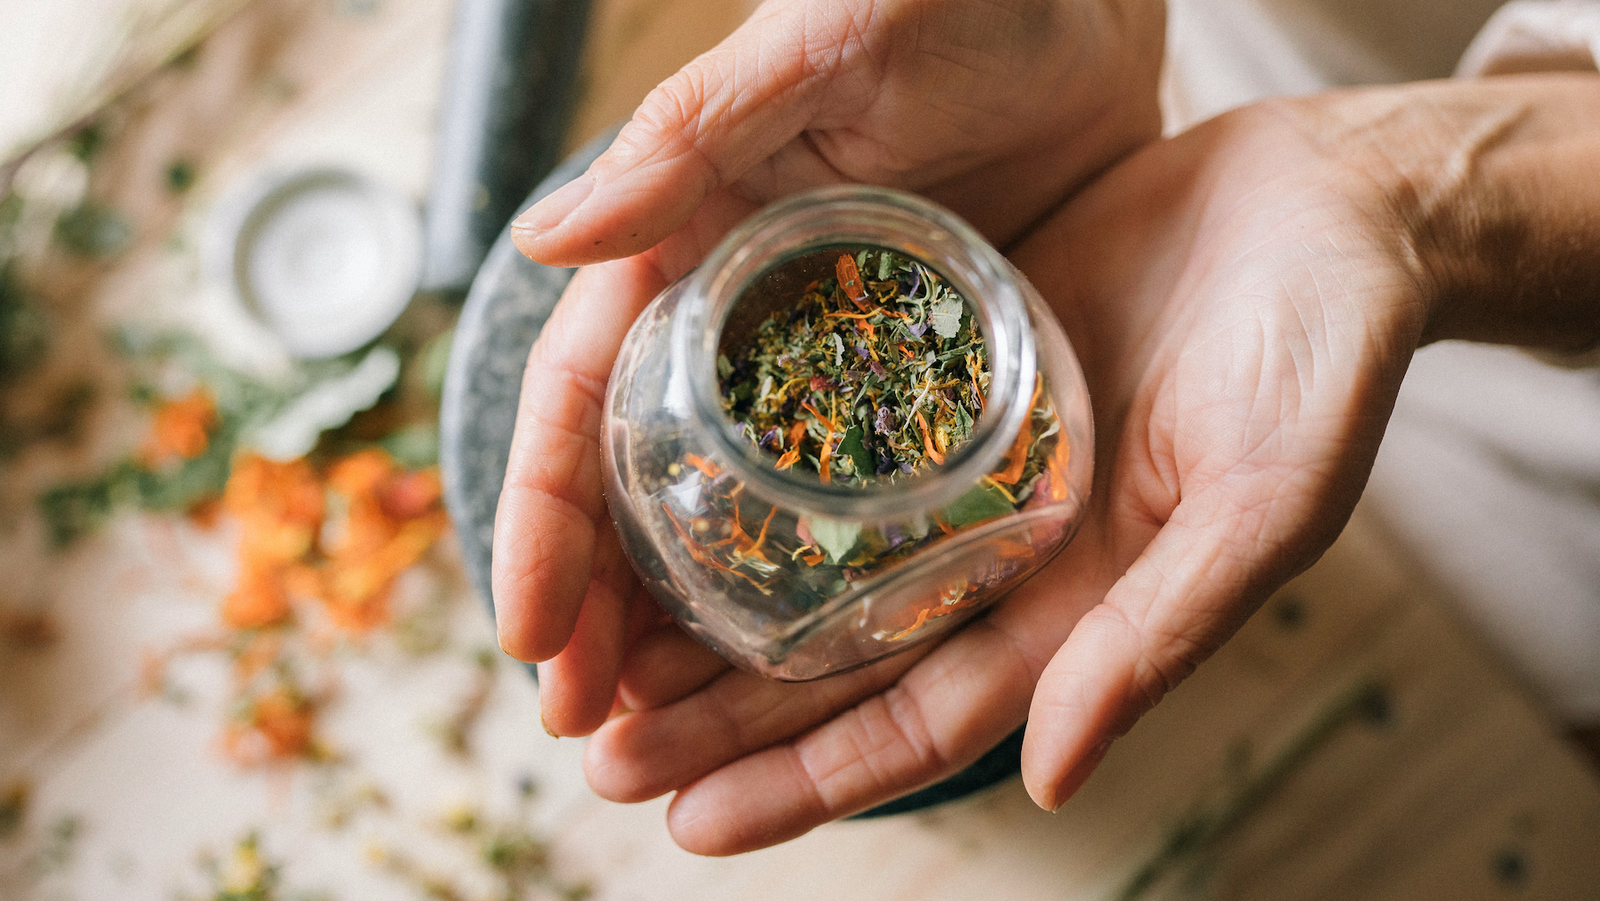
If you haven’t yet used a dehydrator, we highly recommend giving it a go! It will dry herbs, veggies and fruit to your liking. Dry herbs of teas or seasoning, dry veggies so they can be added to soups or stir-fries, and dry fruit for healthy snacks.
Oven
You can dry herbs in the oven on a low setting for 2-4 hours, depending on how much and what you are drying. Never leave an oven unattended, and always practise timings first by keeping a close eye on the herbs in case of combustion.
Hanging Dry
To hang dry herbs, tie sprigs into small bunches with cotton string upside down with baking paper curled around them to keep the dust off. Do this in a hot part of the house or warm garage until the leaves are crispy and dry.
Tips:
1. Always put your dried edibles in a seal-tight container; otherwise, they will reabsorb moisture and will go off quickly.
2. It can be easier to store herbs if they are ground down beforehand. Use a mortar and pestle or a food processor if you have a lot.
Other types of preservation can also include:
- Making fruit juice or cordial and freezing it
- Making wine
- Cool storage (root cellars, meat safes)
- Canning
- Freeze-drying
- Fermentation
- Storing in alcohol

